How We Make a Handmade Mimic
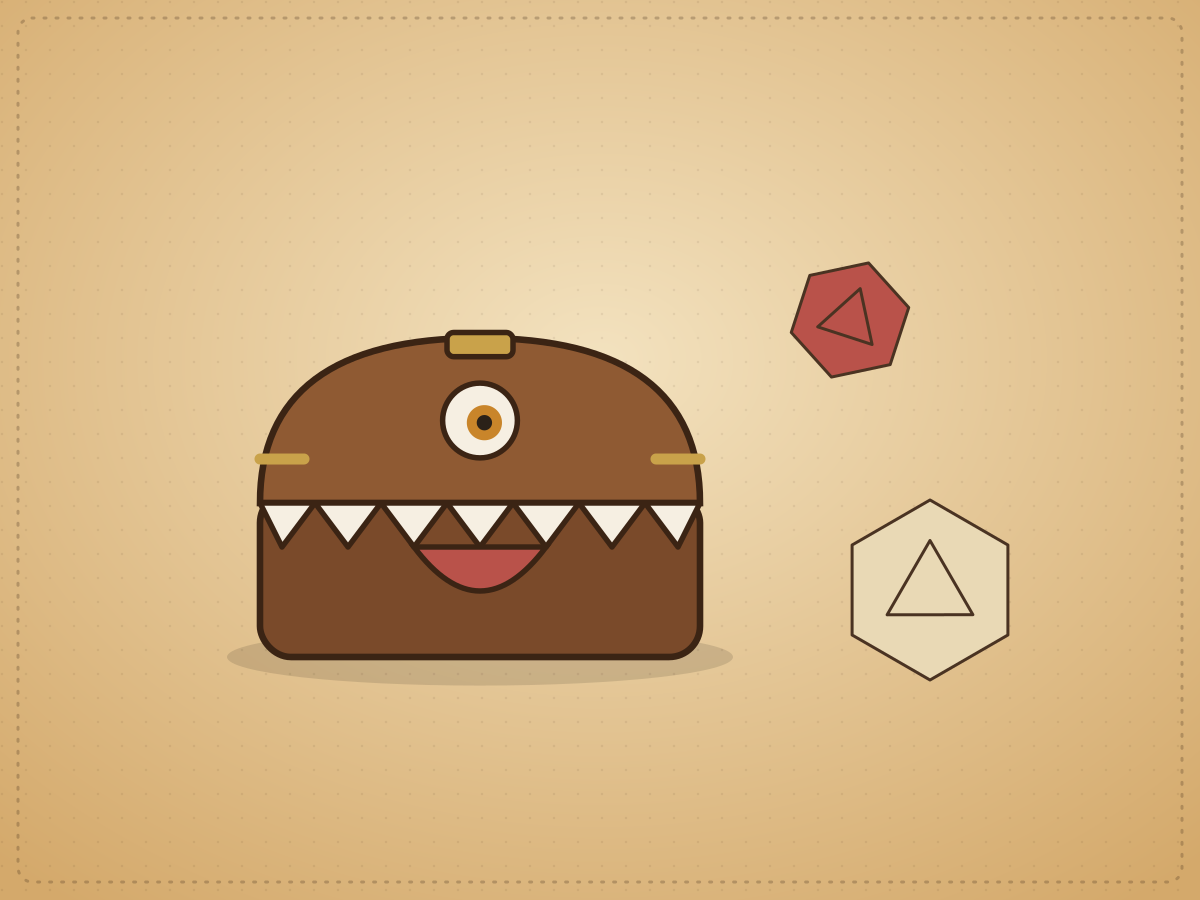
Every Mimic Plush starts as a sketch of a chest that looks a little too friendly. Here is how it becomes a creature you can hold.
1. The pattern
We draw each piece on paper first: lid, base, sides, teeth and tongue. A good mimic needs a lid that opens just enough to be threatening.
2. Cutting the fabric
The chest is cut from brushed cotton with a wood-grain feel. The teeth are felt, cut individually, because teeth that are slightly uneven look more alive.
3. Stitching the teeth
This is the slow part. Each tooth is stitched along the lid edge by hand. We tried a machine once. The mimic did not approve.
4. Stuffing and closing
Too much stuffing and the mimic looks smug. Too little and it looks tired. We stuff by feel until it has the right amount of attitude.
5. The finishing touches
A felt tongue, an eye, and a small gold clasp. Then a last inspection. If it makes us flinch, it is ready.
Want one? Visit Mab’s Menagerie to see which mimics are currently looking for a home.